Elderberry Syrup Mania!
Elderberries have been all the craze for some time. People make syrup, jam, tea and more with these berries.
What I found out in researching elderberries, was that these berries are very special. They are like the secret remedy for colds and the flu!
There are a few types of elderberry plants, but the black elderberry, Sambucus canadensis, is favored. Because of its strong anti-viral properties, it a huge defender against colds and the flu. Thus the reason for being so popular in the fall.
Elderberries are also know for the following:
- Immune System Booster
- Improves vision
- Fights infections including influenza, herpes, viral infections, bacterial infections
- Lowers cholesterol
- Improves heart health
- Fights coughs and colds
- Protect against cell damage
- Impedes yeast infections
- Fights hay fever
- Helps with asthma
- Improves complexion
- Improves eczema
Finding Elderberries
Elderberries can be purchased frozen or dried. Or if you know of a place where they grow, you can pick them right from the shrub, with the owners permission of course.
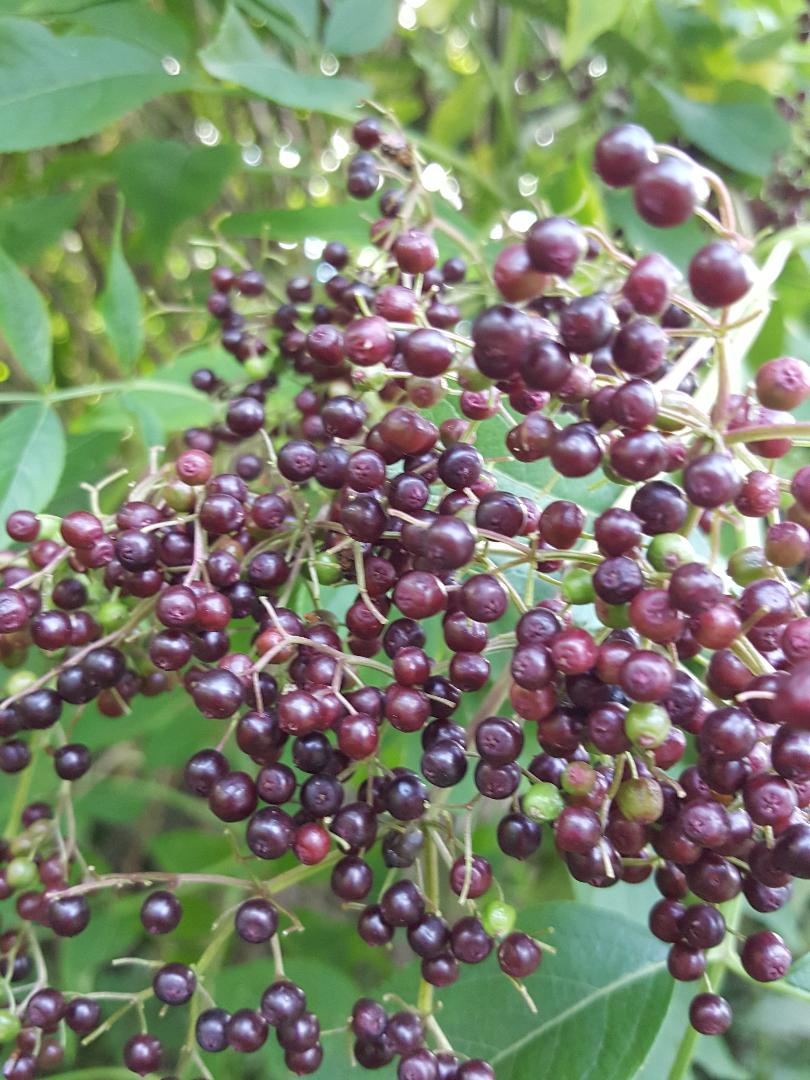
Elderberries ready for picking
I looked for a while in trying to track some down. Eventually I was able to locate fresh elderberries at the Local Roots Food Coop and purchased 3 lbs.
Mountain Rose Herbs is another great place to get your elderberries because theirs are certified organic.
I wasn’t able make the syrup right away, so I threw them in the freezer for the time being.
When I finally had some time, I pulled the elderberries out of the freezer.
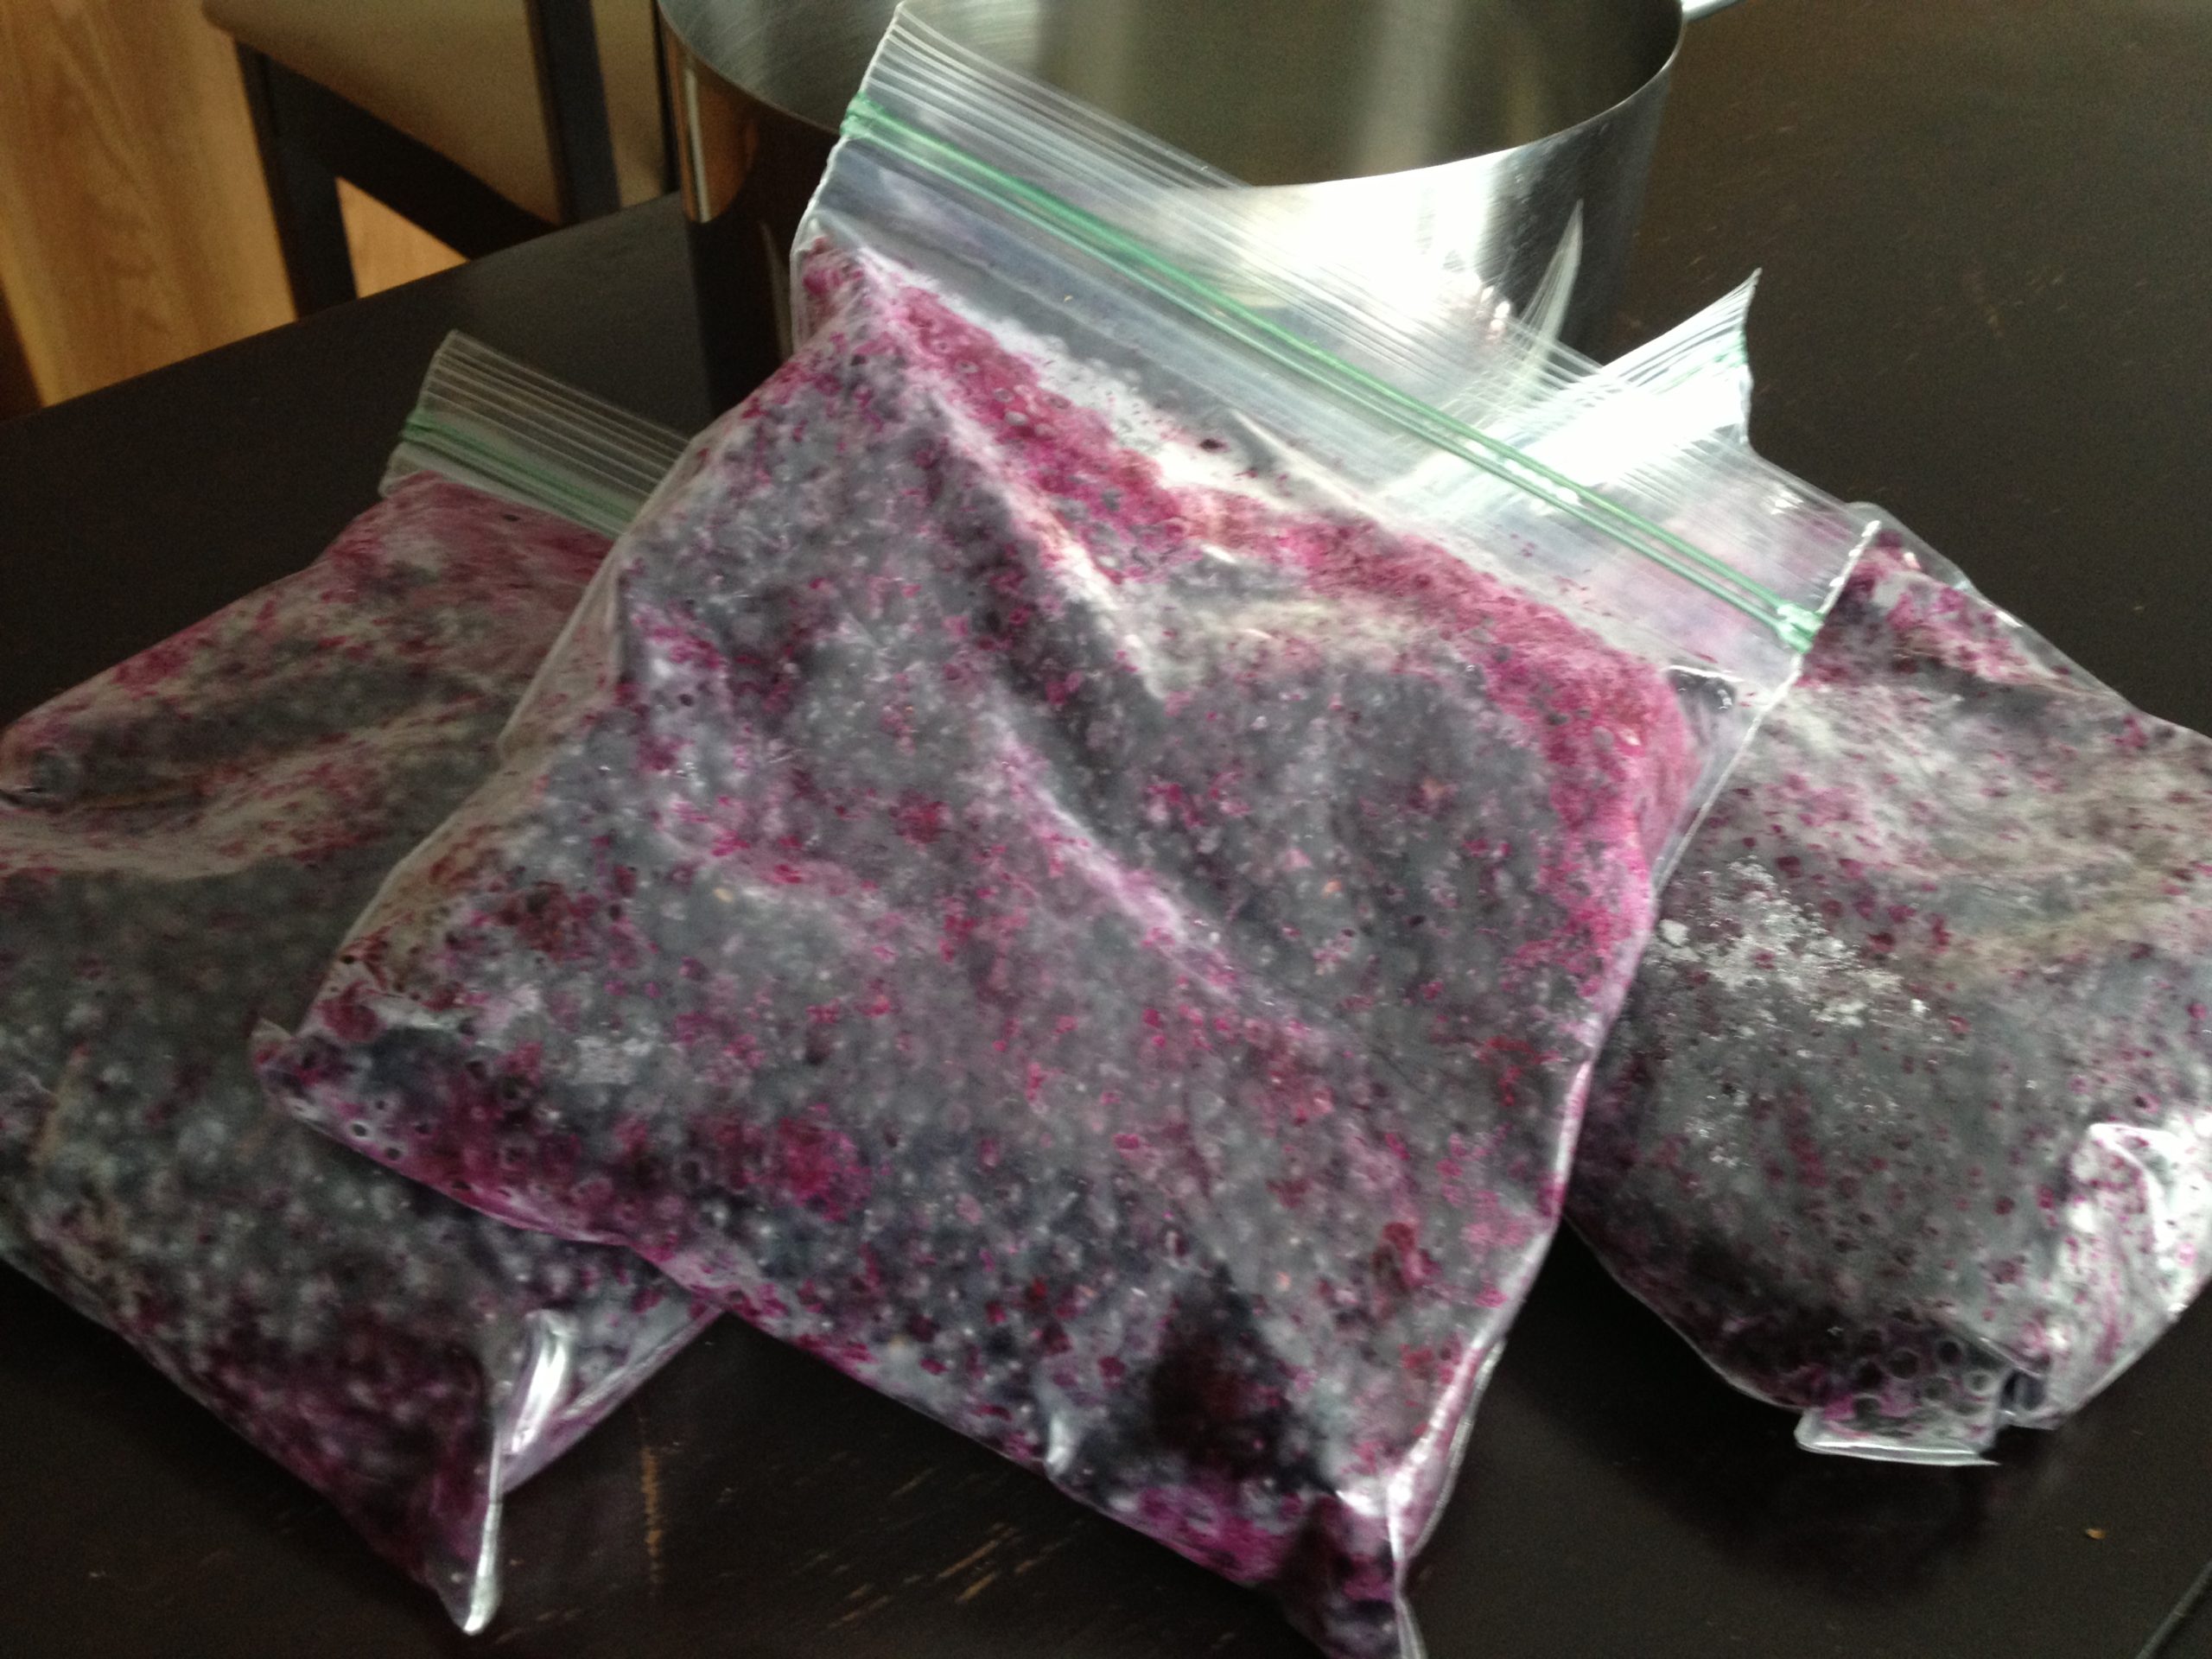
Frozen Elderberries
Making Elderberry Syrup
I had found a simple recipe (found at the end of this blog) that looked good to me because it contained cinnamon and honey, both which I love.
So into the pot went the berries and the heat was turned on. I kept the temperature at about medium low heat so the berries wouldn’t burn and stirred every so often.
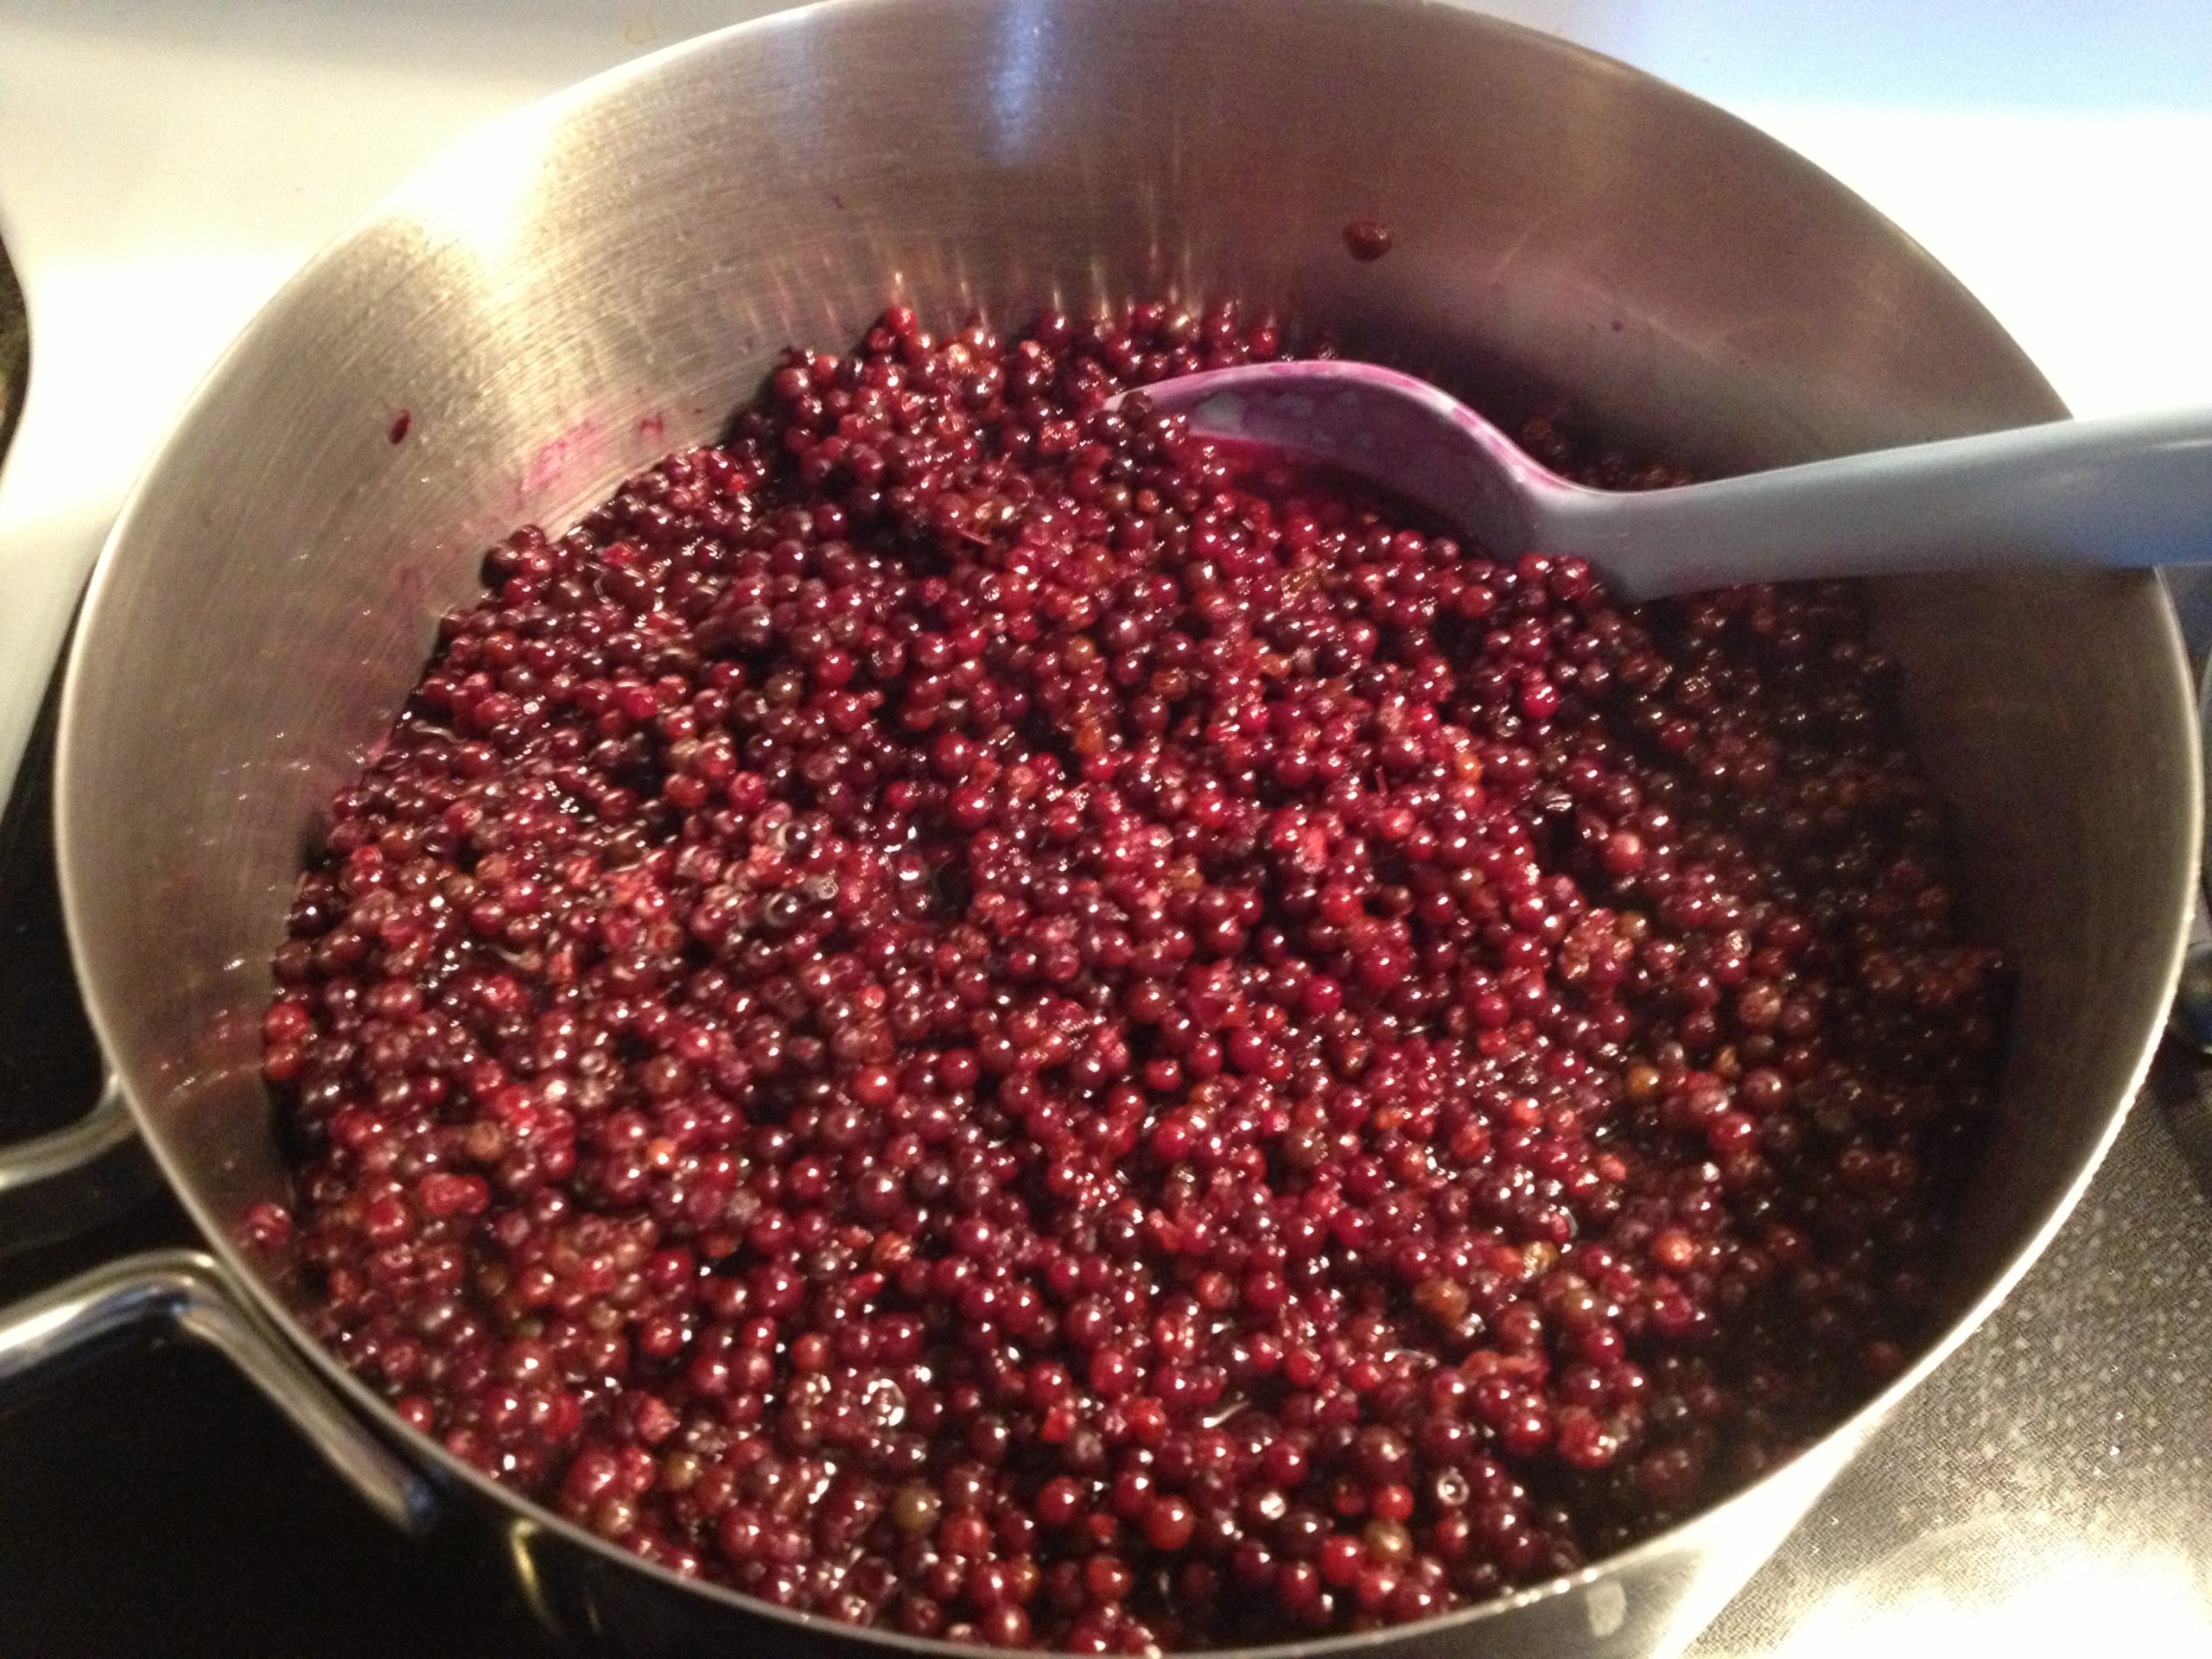
Cooking Elderberries
Once the berries got soft, I mashed them for a few minutes to help extract the juice.
When the berries had cooked long enough (for about one hour), I put them in a strainer and let them sit for awhile to let the juice fall through.
After leaving them sit for a bit, I hand squeezed the berries in cheesecloth to get out as much juice as I could. By the way, that is excellent exercise for your hands. Boy, were mine sore after just a few minutes!
This is a messy step in the process, so be prepared. These berries can stain, so I would recommend wearing an apron or something you won’t mind getting dirty.
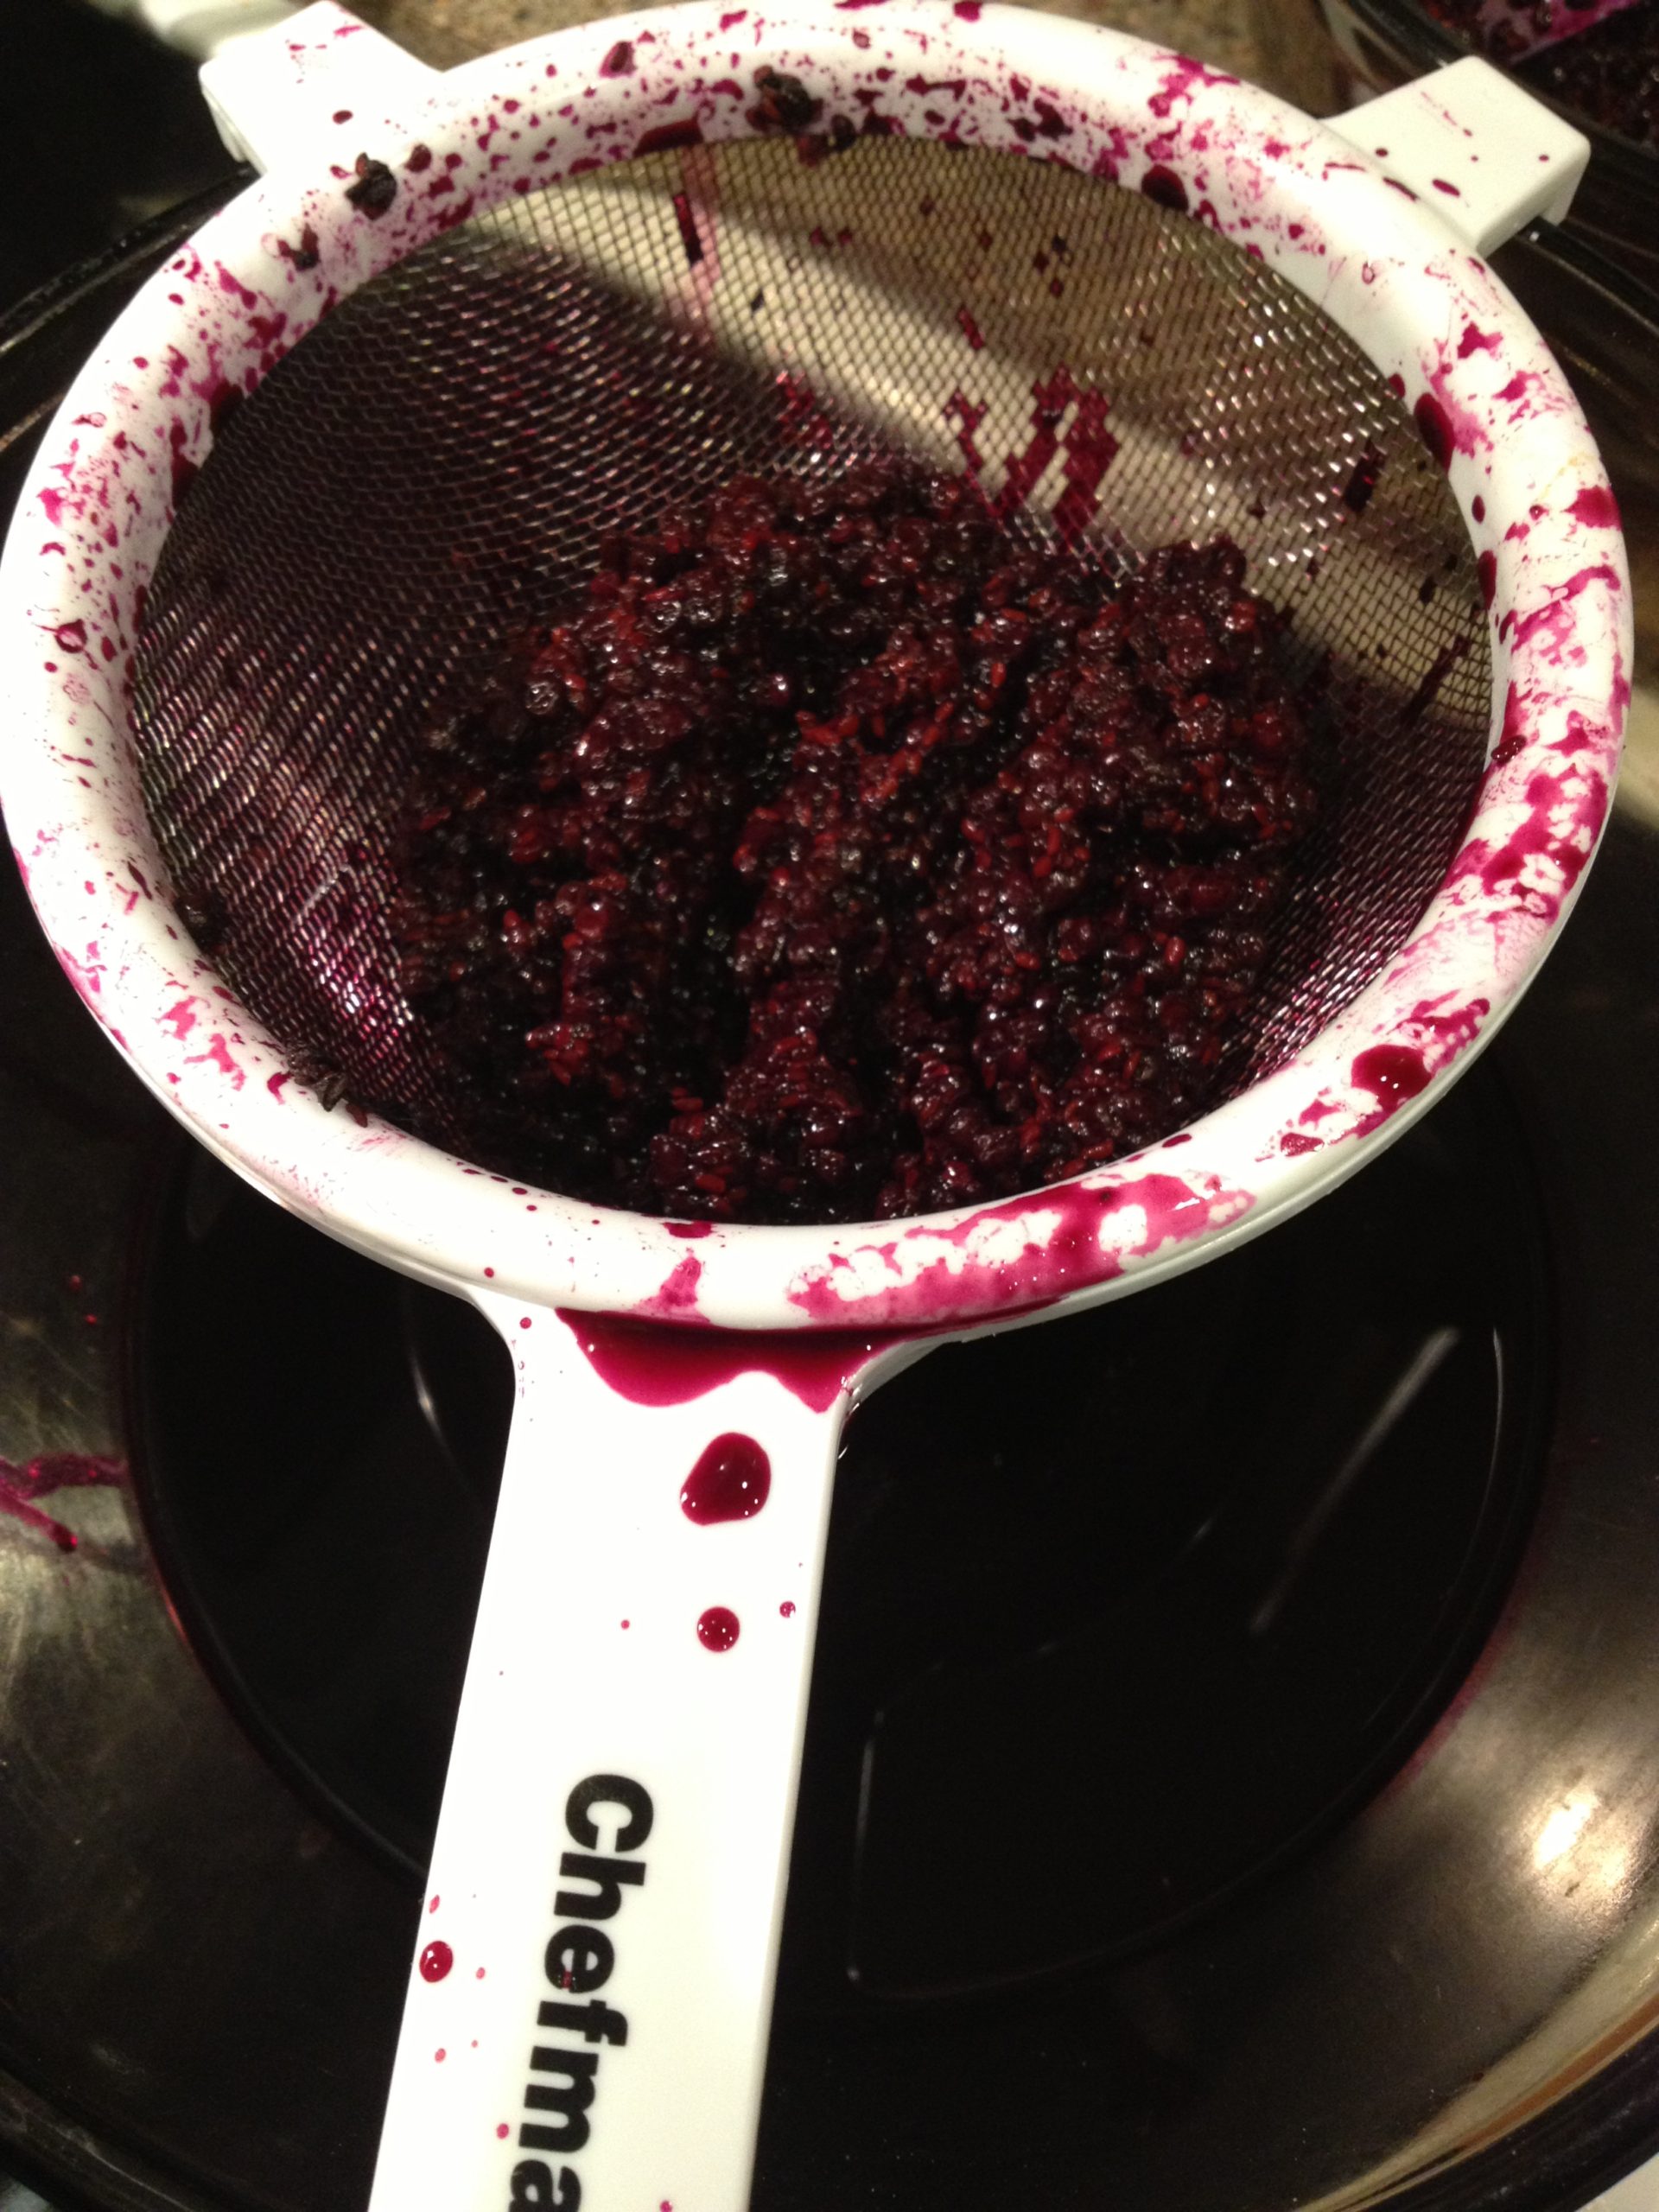
Straining the elderberries
Once I had as much juice I could get from the berries, which ended up being 1 pint, I started on the syrup.
I added in the cinnamon and honey and let it come to a boil. While the syrup heated, I got the jars ready.
I did sample it while it was on the stove, and added more cinnamon and honey to my liking.
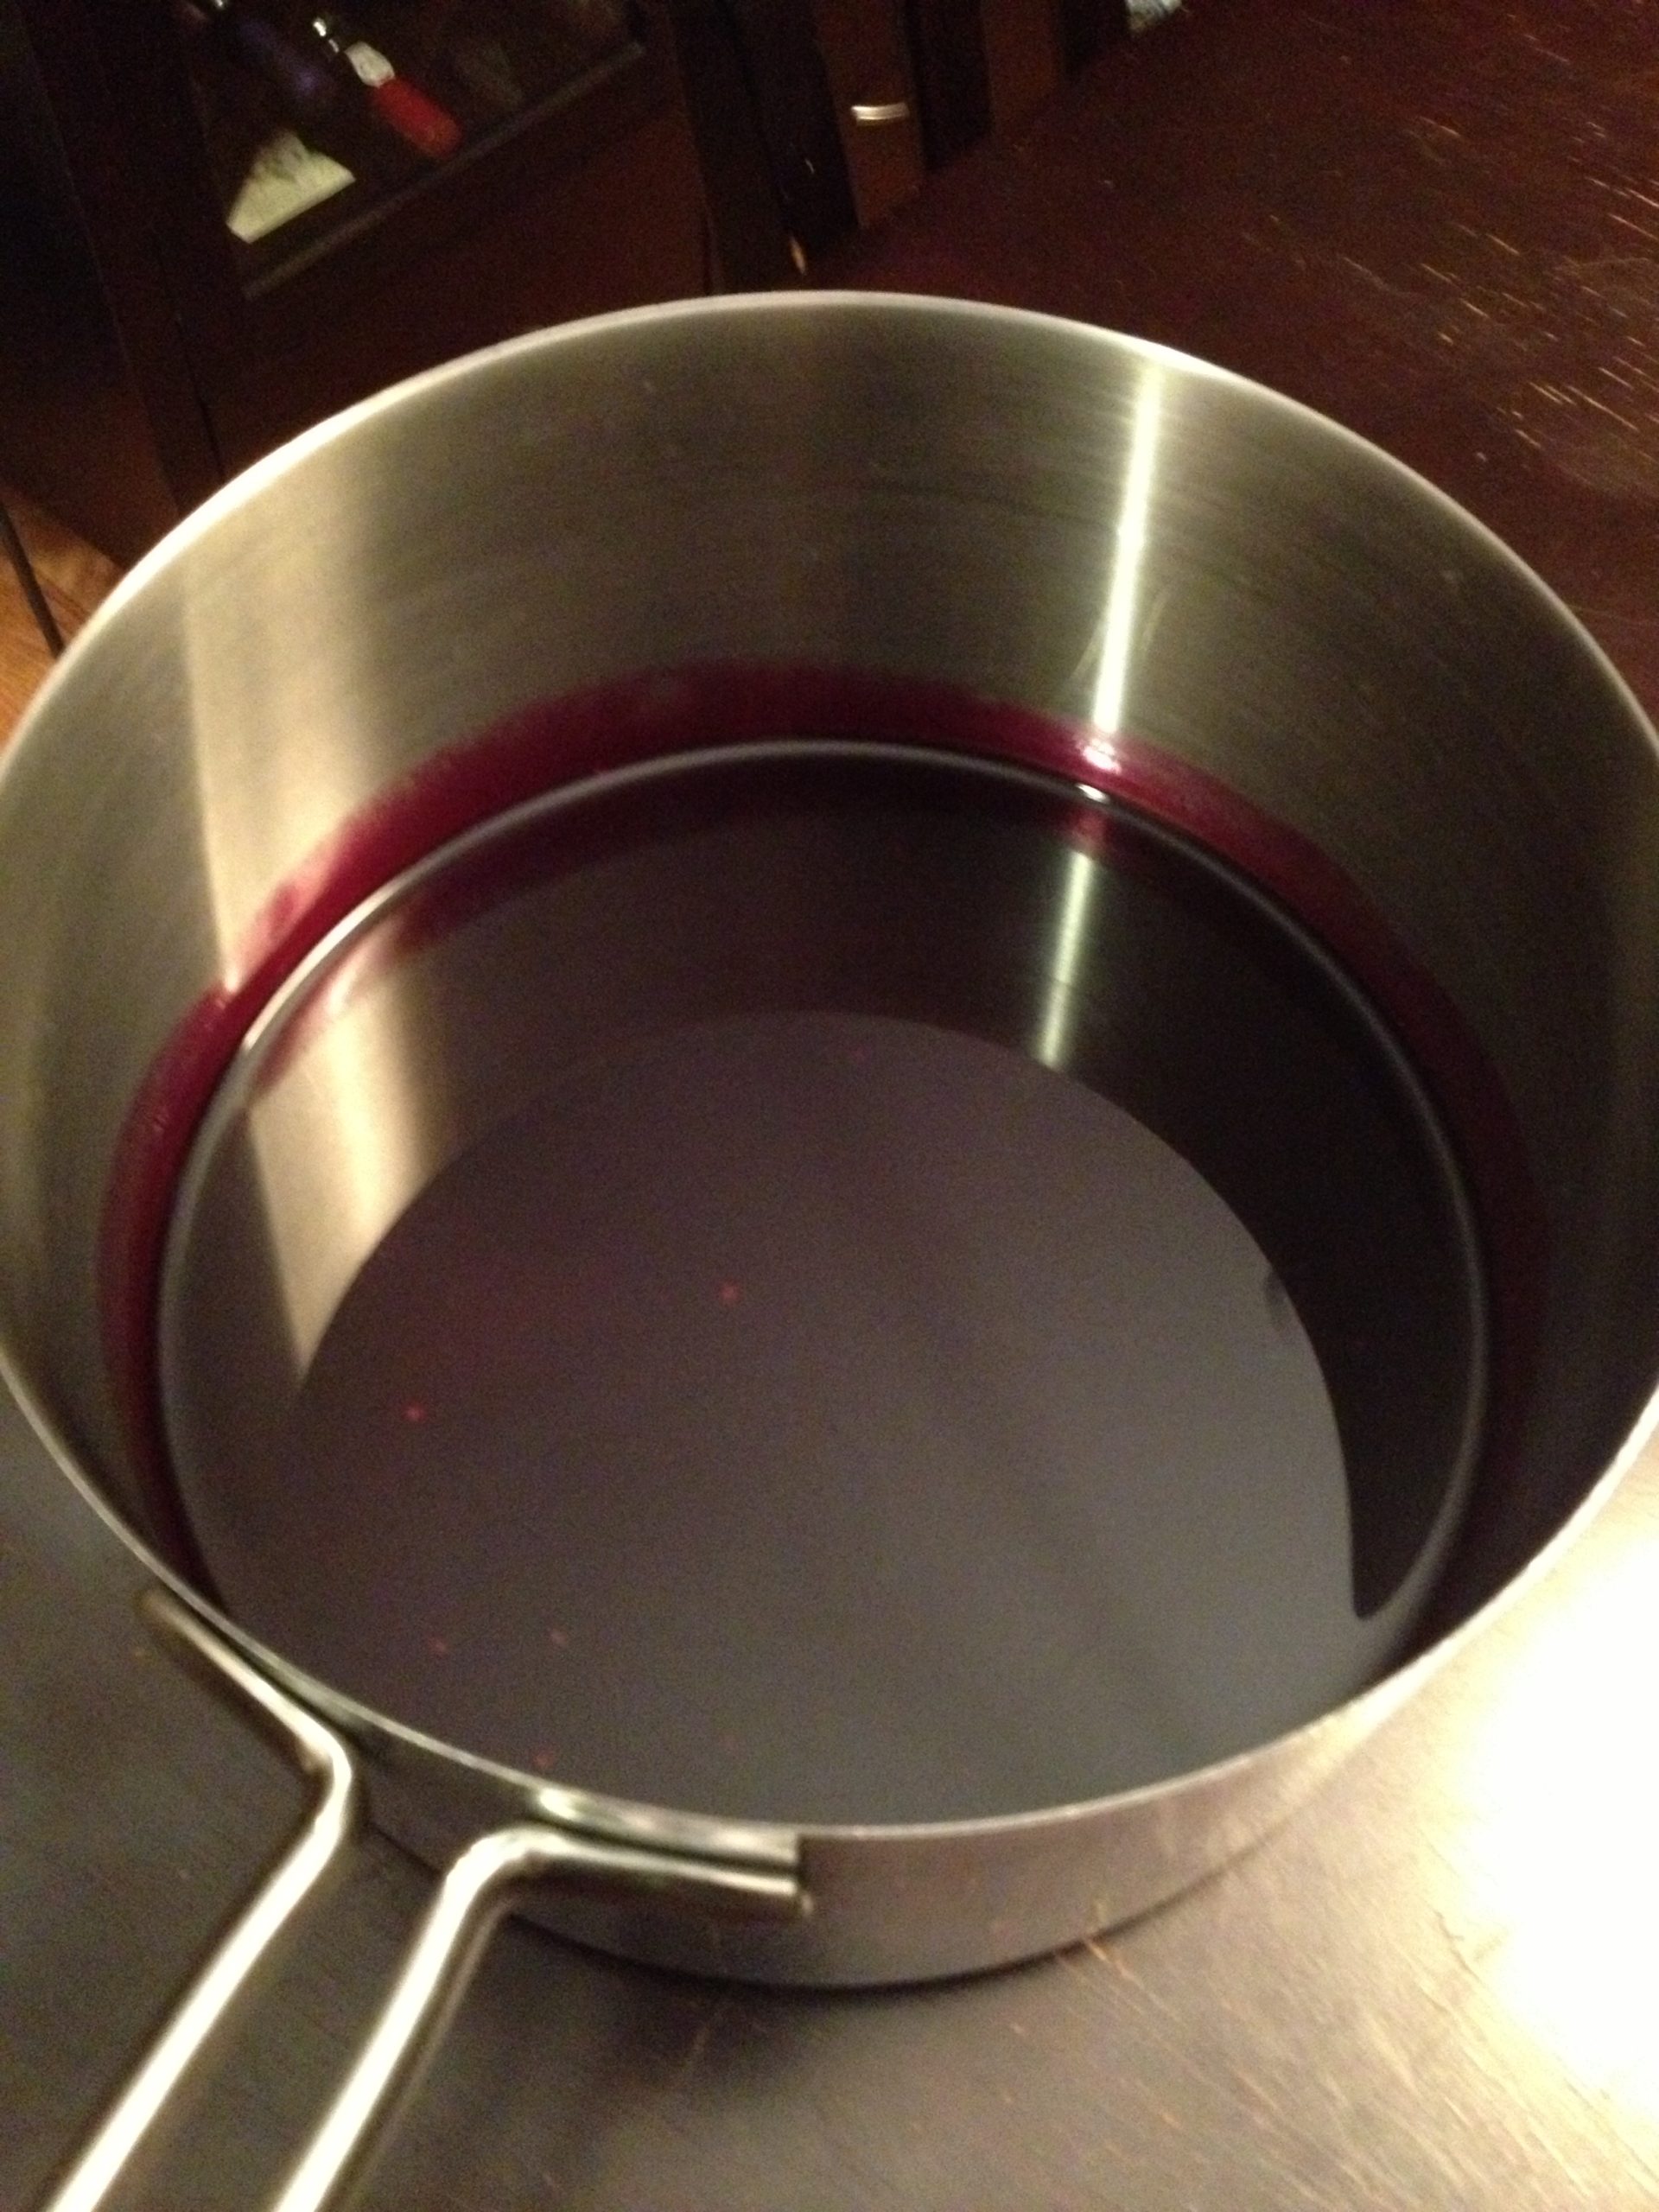
Elderberry juice
I have to stop here and say the honey I used is some of the best I’ve ever had. I got it at a local Farmers Market from the vendor Ames Farm. I had the Sweet Clover Honey and it is so good! It is so nice to be able to buy and use local products, and I like to support small businesses.
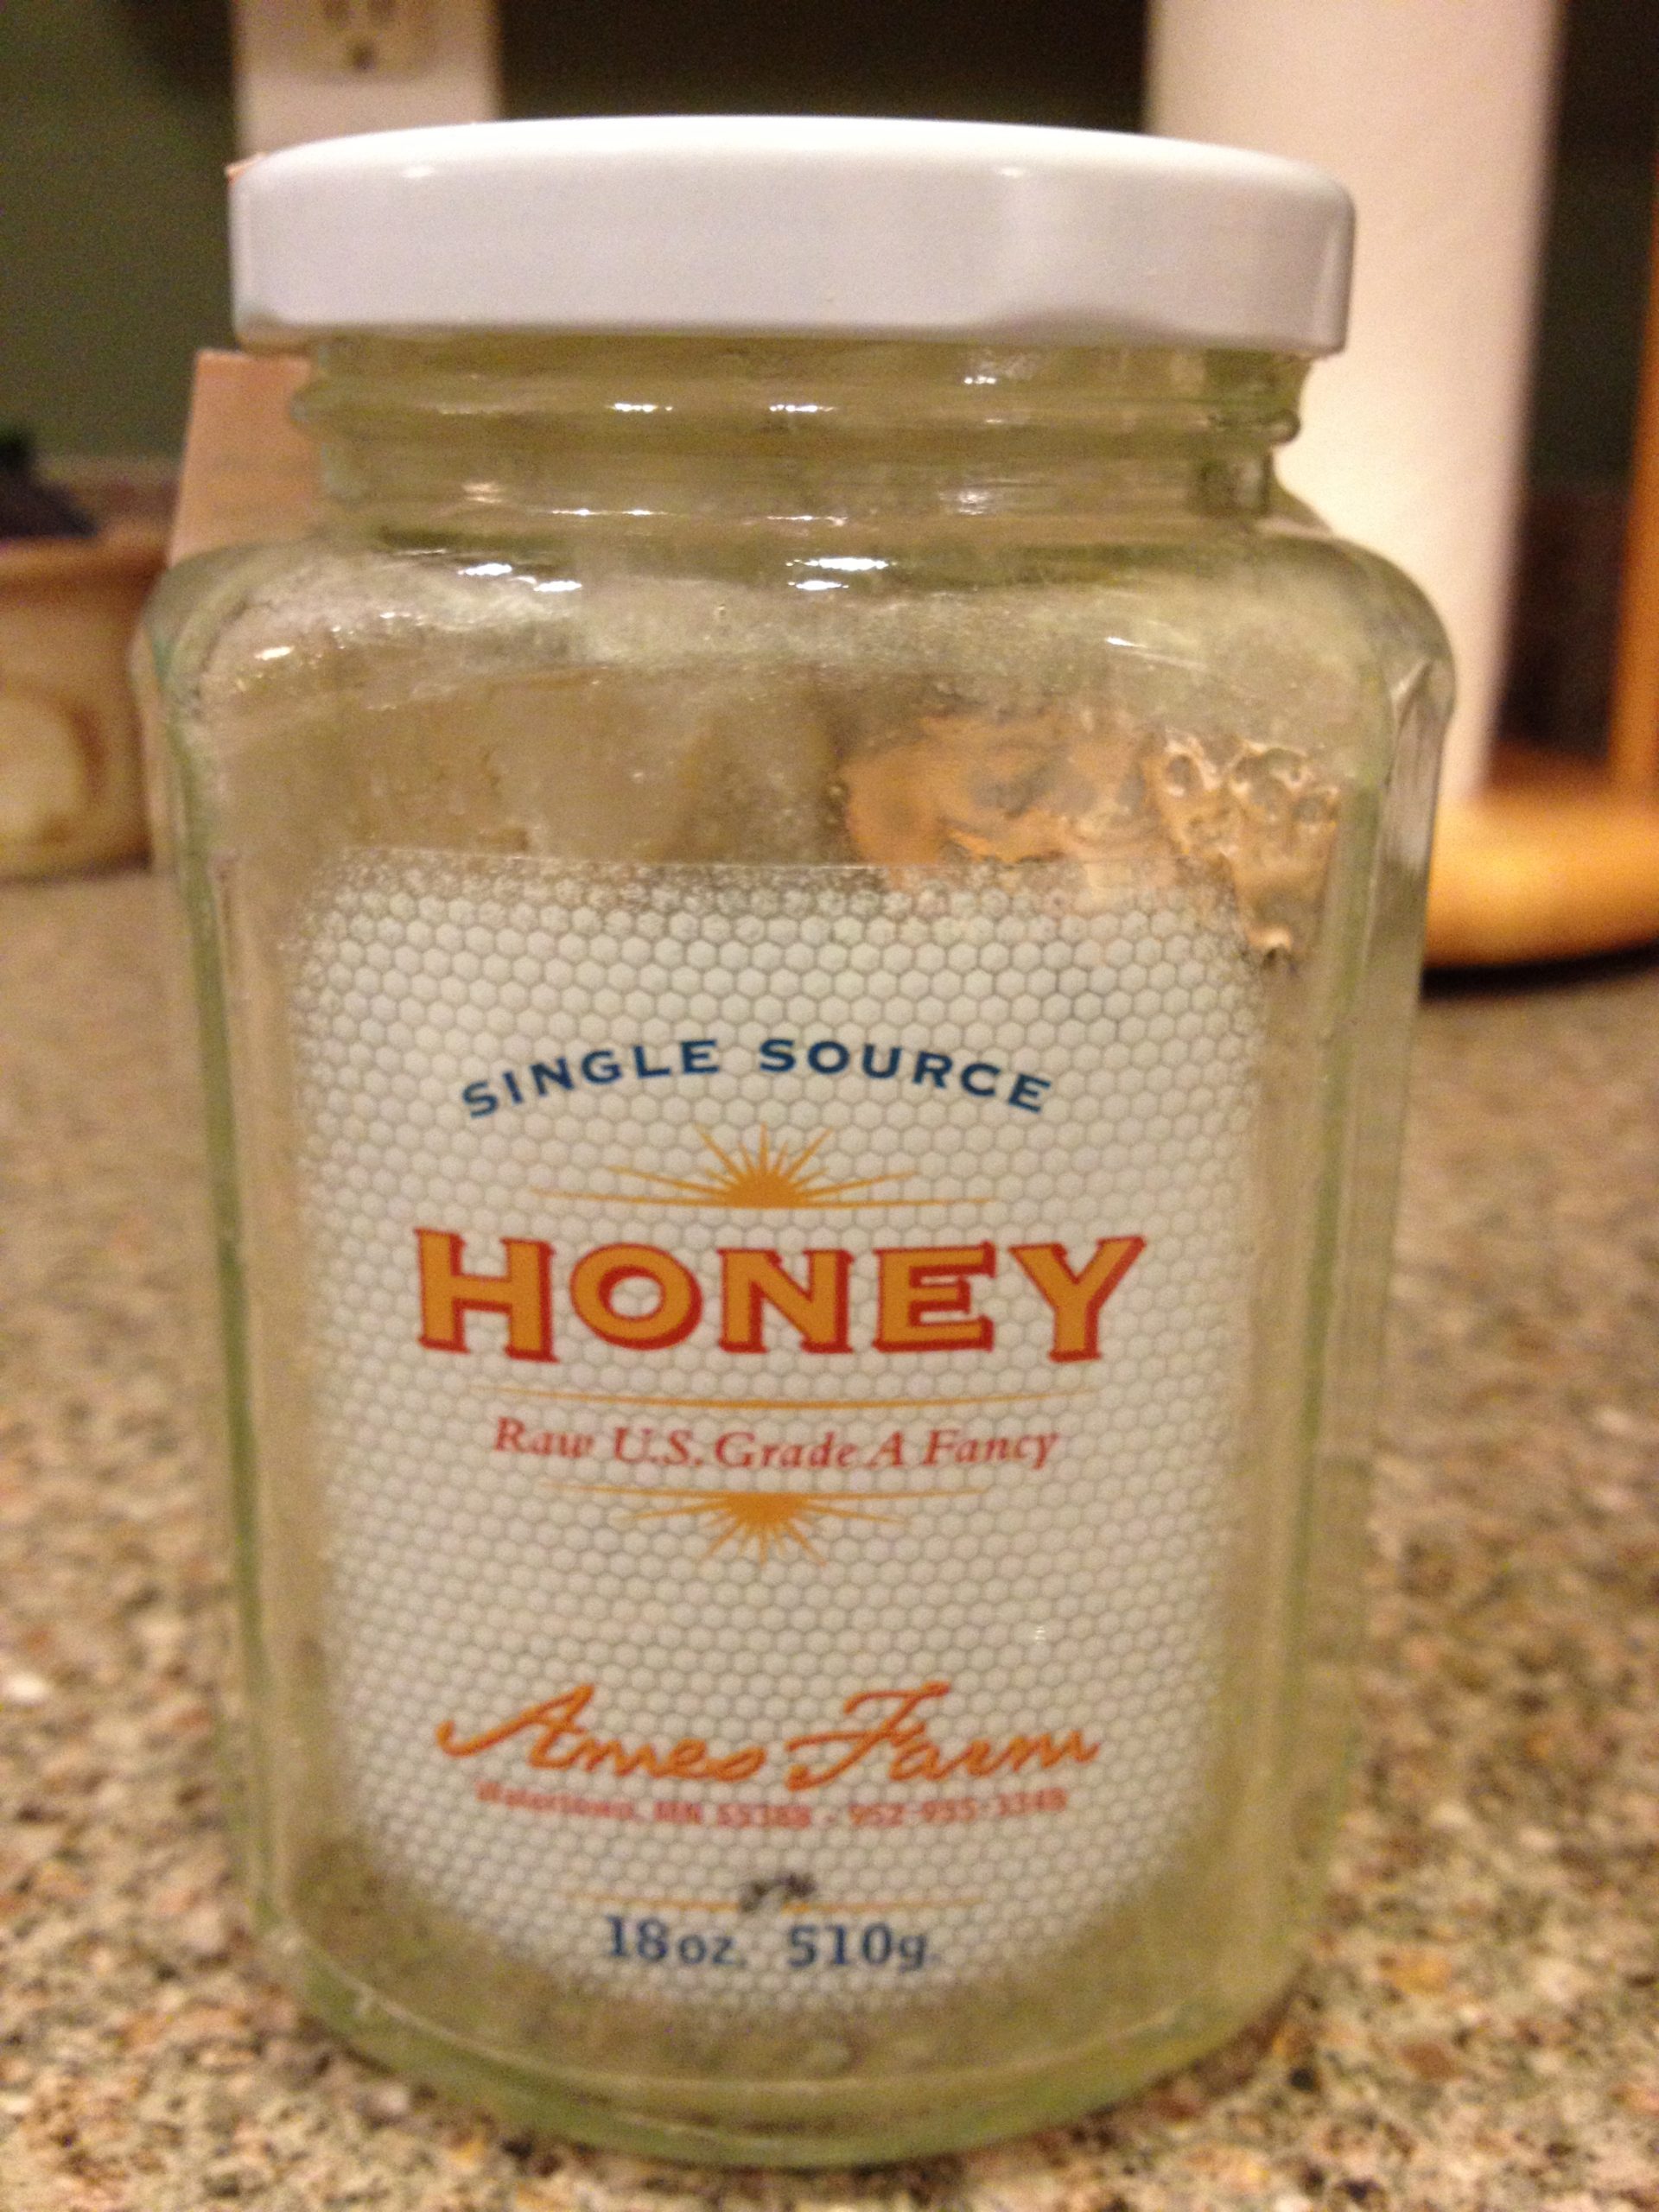
The honey I used for my elderberry syrup.
Finally the syrup was ready to be put in the jar. And I had my first jar of Elderberry Syrup! And it is tasty, better then any cough syrup I’ve purchased in the store.
And it was so easy!
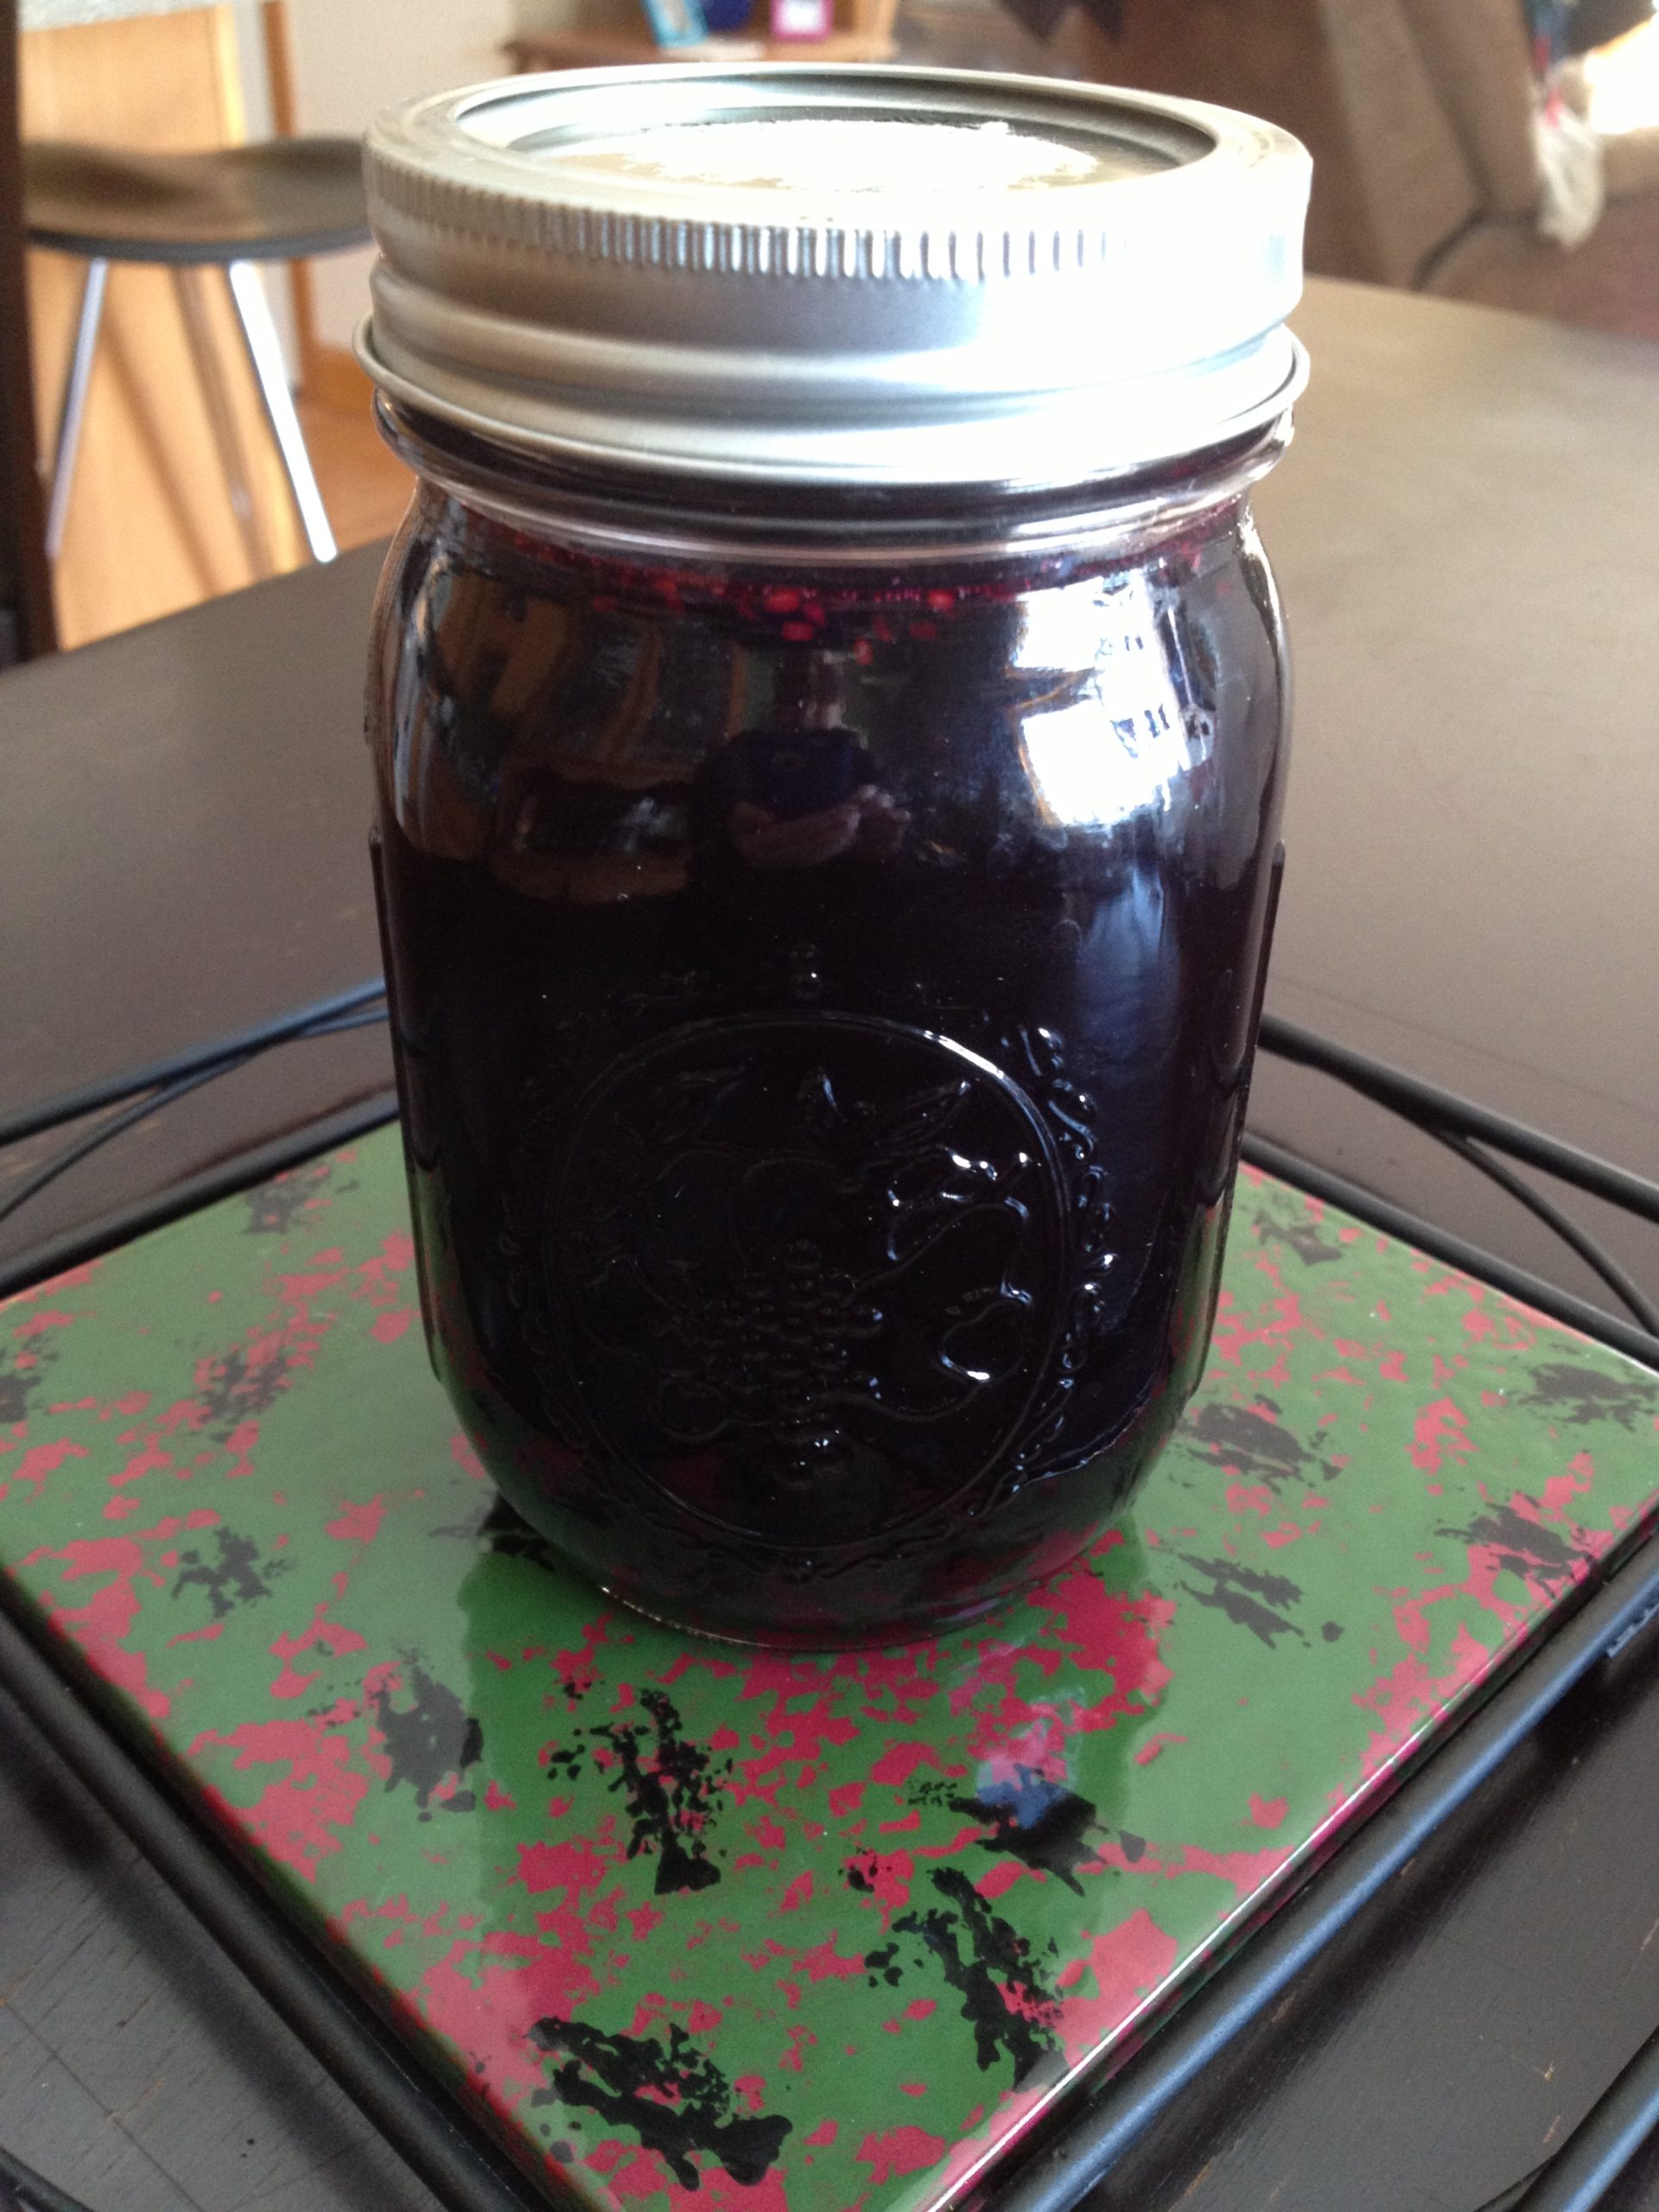
My first homemade jar of Elderberry Syrup!
Drying the Pulp to Make Elderberry Tea
I hate wasting, so with the berries that were left after removing the juice, I decided to see if they could be used for tea if dried. I spread them out on parchment paper and then into the oven, which I set at 150 degrees F. They took a number of hours to dry out completely.
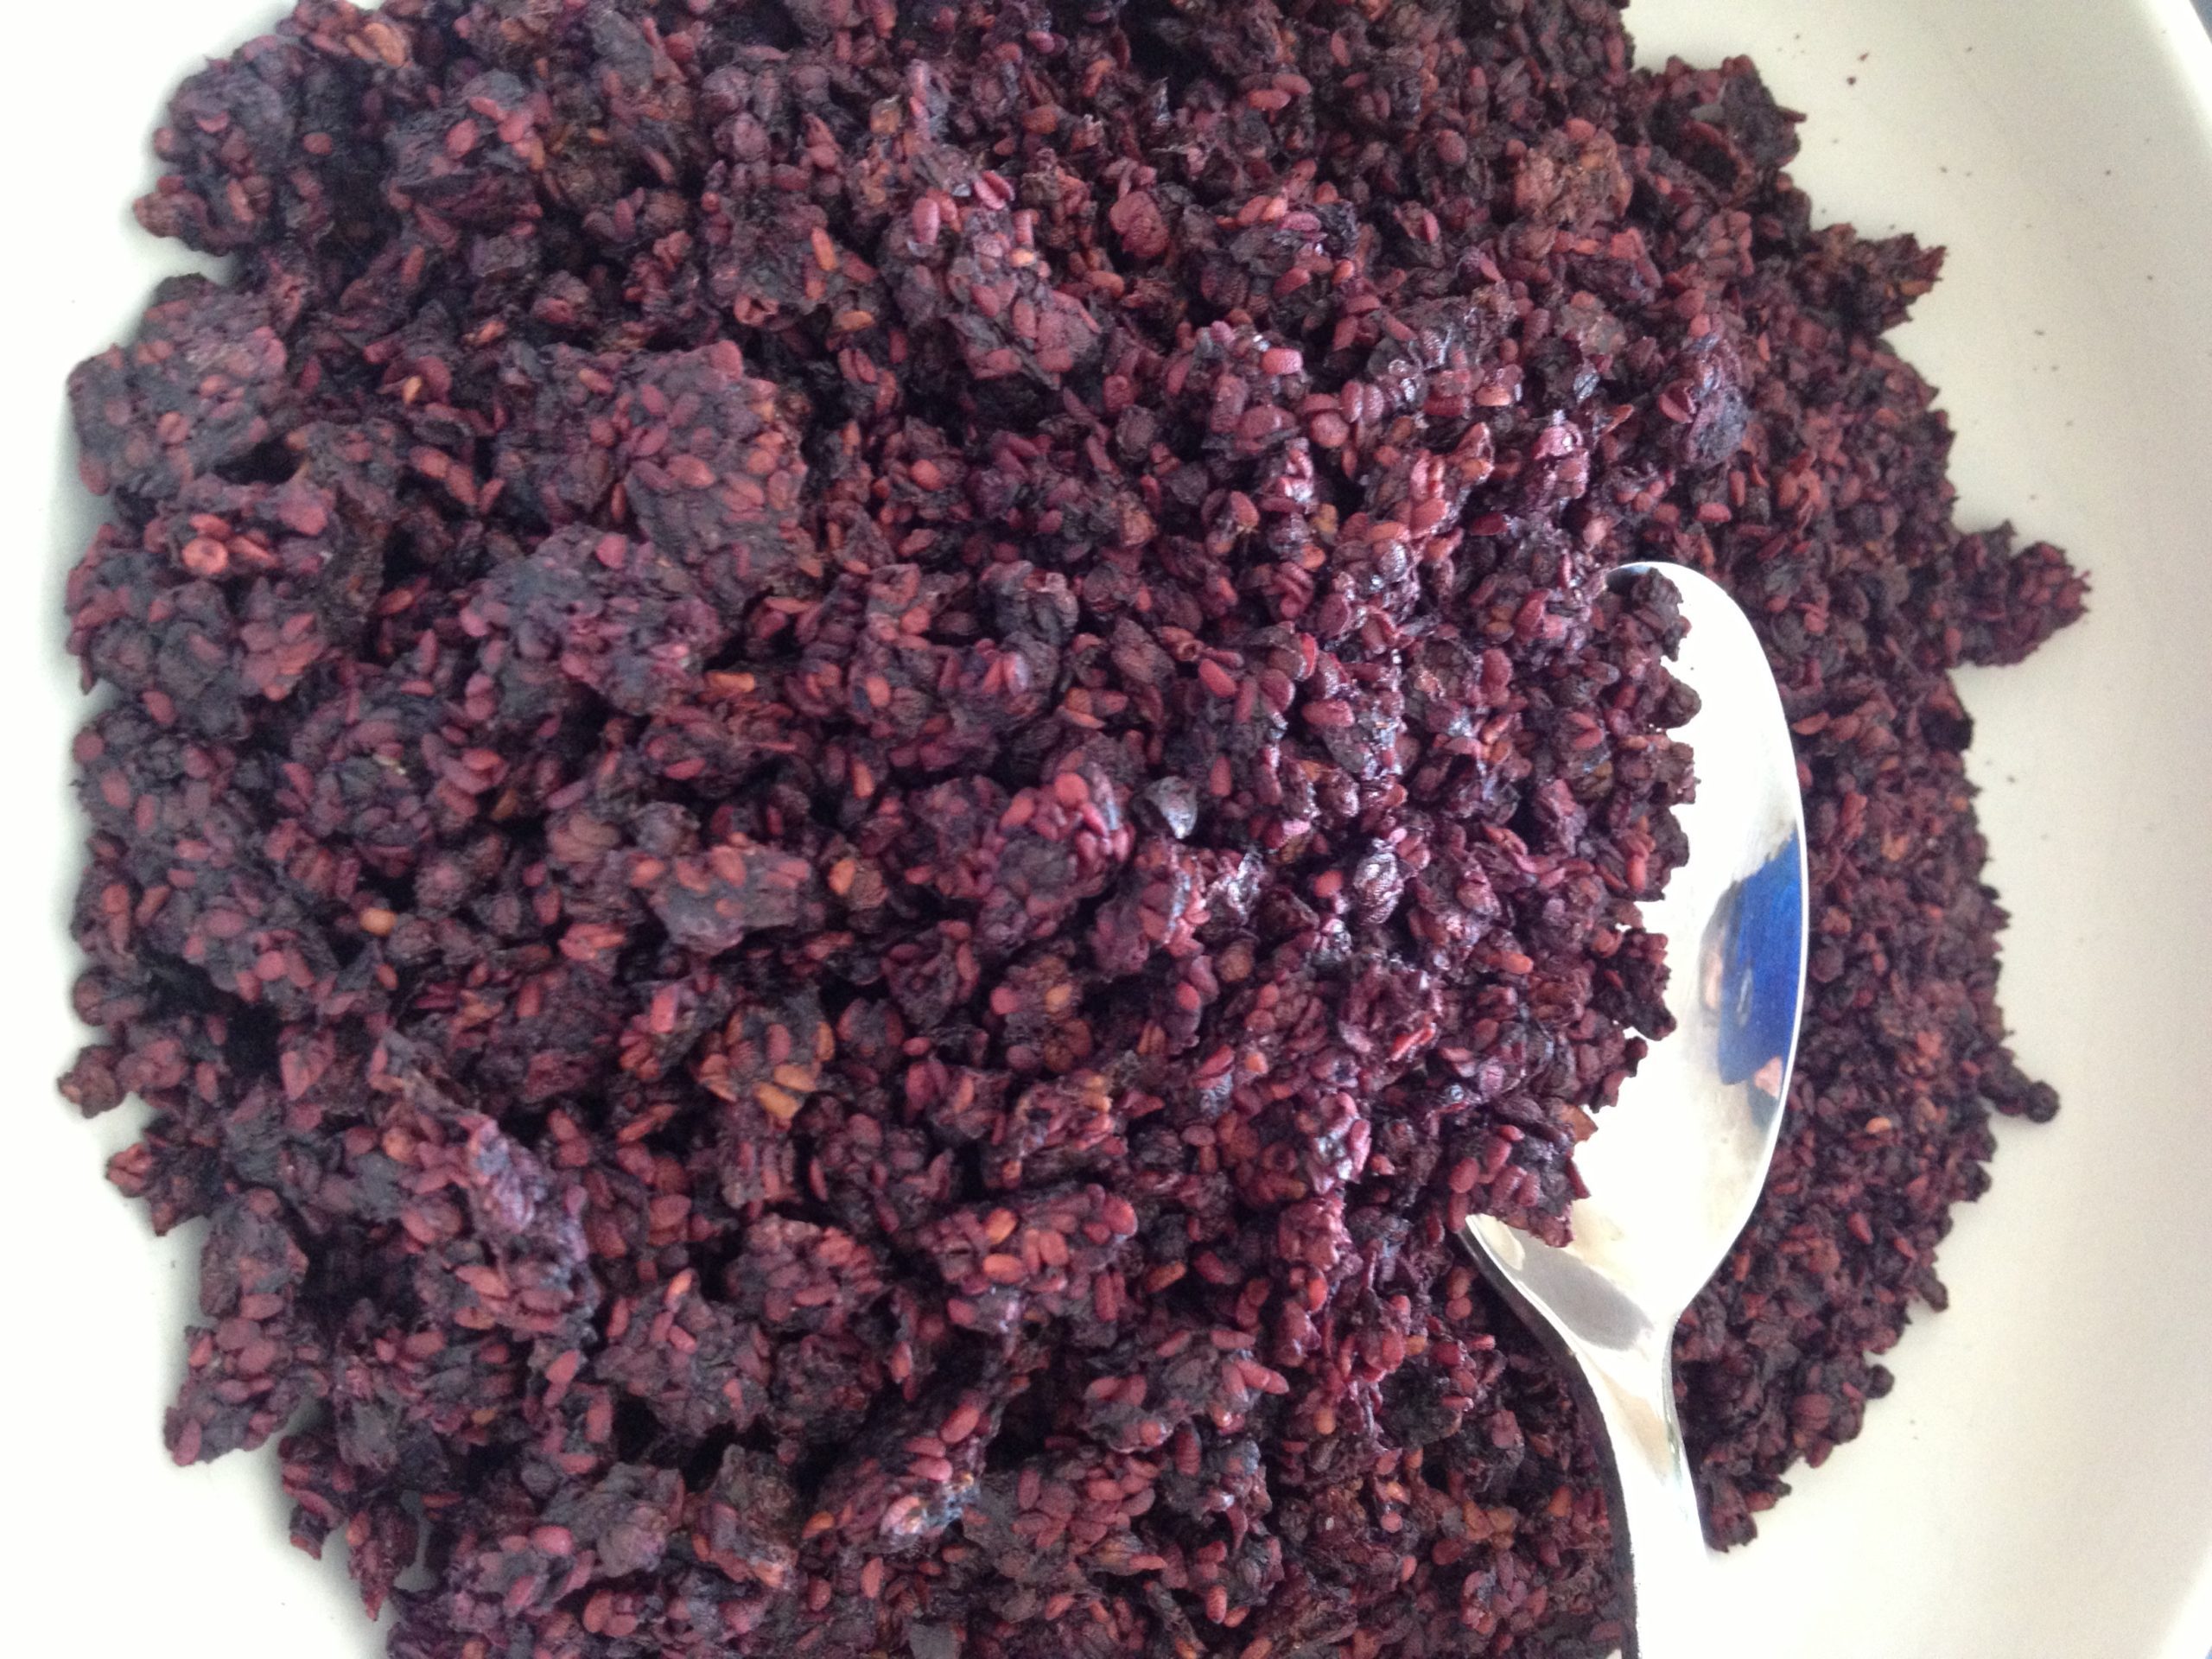
Dried Elderberries
To make the tea, I took about a Tbsp of dried elderberries, a tsp of dried mint leaves and a dried stevia leaf and steeped everything in about 8oz of hot water for about 10 minutes. It wasn’t too bad, a little weak, so next time I think I will add more mint leaves and elderberries.
The Smell of Elderberries
I have to make a comment on the smell the elderberries made while cooking. It was a sort of old berry smell I thought. Not unpleasant, but certainly not sweet smelling. When my daughter walked in from outside, she asked “What stinks?” Ok, it wasn’t that bad, but the odor was unique as I had never smelled it before and had expected something a little sweeter.
Even Monty Python thought elderberries smelled! LOL!
Elderberry Syrup Recipe
I found this simple recipe on Common Sense Homesteading.
Ingredients
- 1 quart elderberry juice
- 2 cups honey
- 2 sticks cinnamon
Directions
Sterilize three 16-ounce jars, keep hot. Heat lids and rings in hot water, keep warm but not boiling. Fill water bath canner and bring to boil.
Combine all ingredients in a non-reactive pot. Heat and stir until all honey is dissolved. Bring to boil and boil for ten minutes (this infuses the flavor of the spices into the syrup). Ladle hot syrup into sterilized jars leaving 1/4″ headspace. Wipe rims clean and screw on the lids. Process for 10 minutes in water bath canner (add 1 minute for every 1,000 feet above sea level). Makes around 3 pints of syrup. (You can adjust this recipe to make a smaller batch.)
Note: because of the honey, do not give to children under 1 year of age.